Due to the covid-19 situation, most of us are confined at home and working remotely. Being a roboticist at this time, can be a bit frustrating, not everyone got a Reachy robot with you at home that you can program.
Thankfully, here comes a 3D visualisation solution to keep you busy!
Even when there is no virus around, having a visualisation tool can prove really useful.
- It lets you try to move the simulated robot without any risk of breaking anything. It’s a good way to learn how to control Reachy without fear.
- You can try yourself controlling a simulated Reachy before purchasing one, to better understand what it can and cannot do.
- It can be used extensively and with as many robots as you want for instance to train your machine learning algorithm.
So, in the Pollen team one of our main goal for this year is to provide complete simulation tool for our Reachy robot.
A 3D visualisation
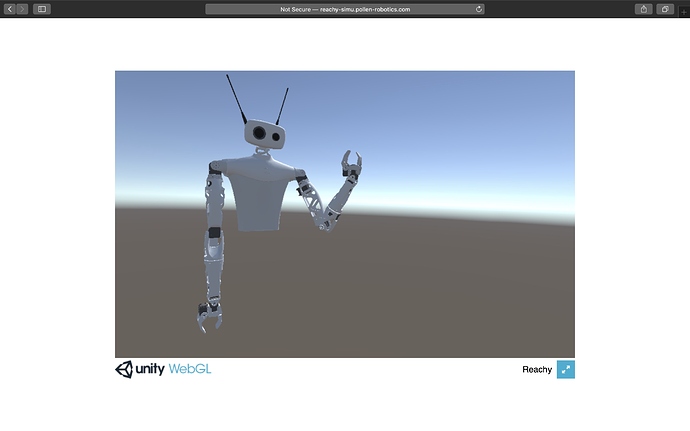
I’ve started working on this 3D visualisation a couple of weeks ago and the first prototype is ready to be used! It is still a work in progress and many additional features are yet to come but you can already start using it today.
It’s important to make it clear that for the moment it’s more a visualisation tool than a complete simulator. I’ll definitely want to push this software in this direction but this will take more time (see the roadmap later in this post).
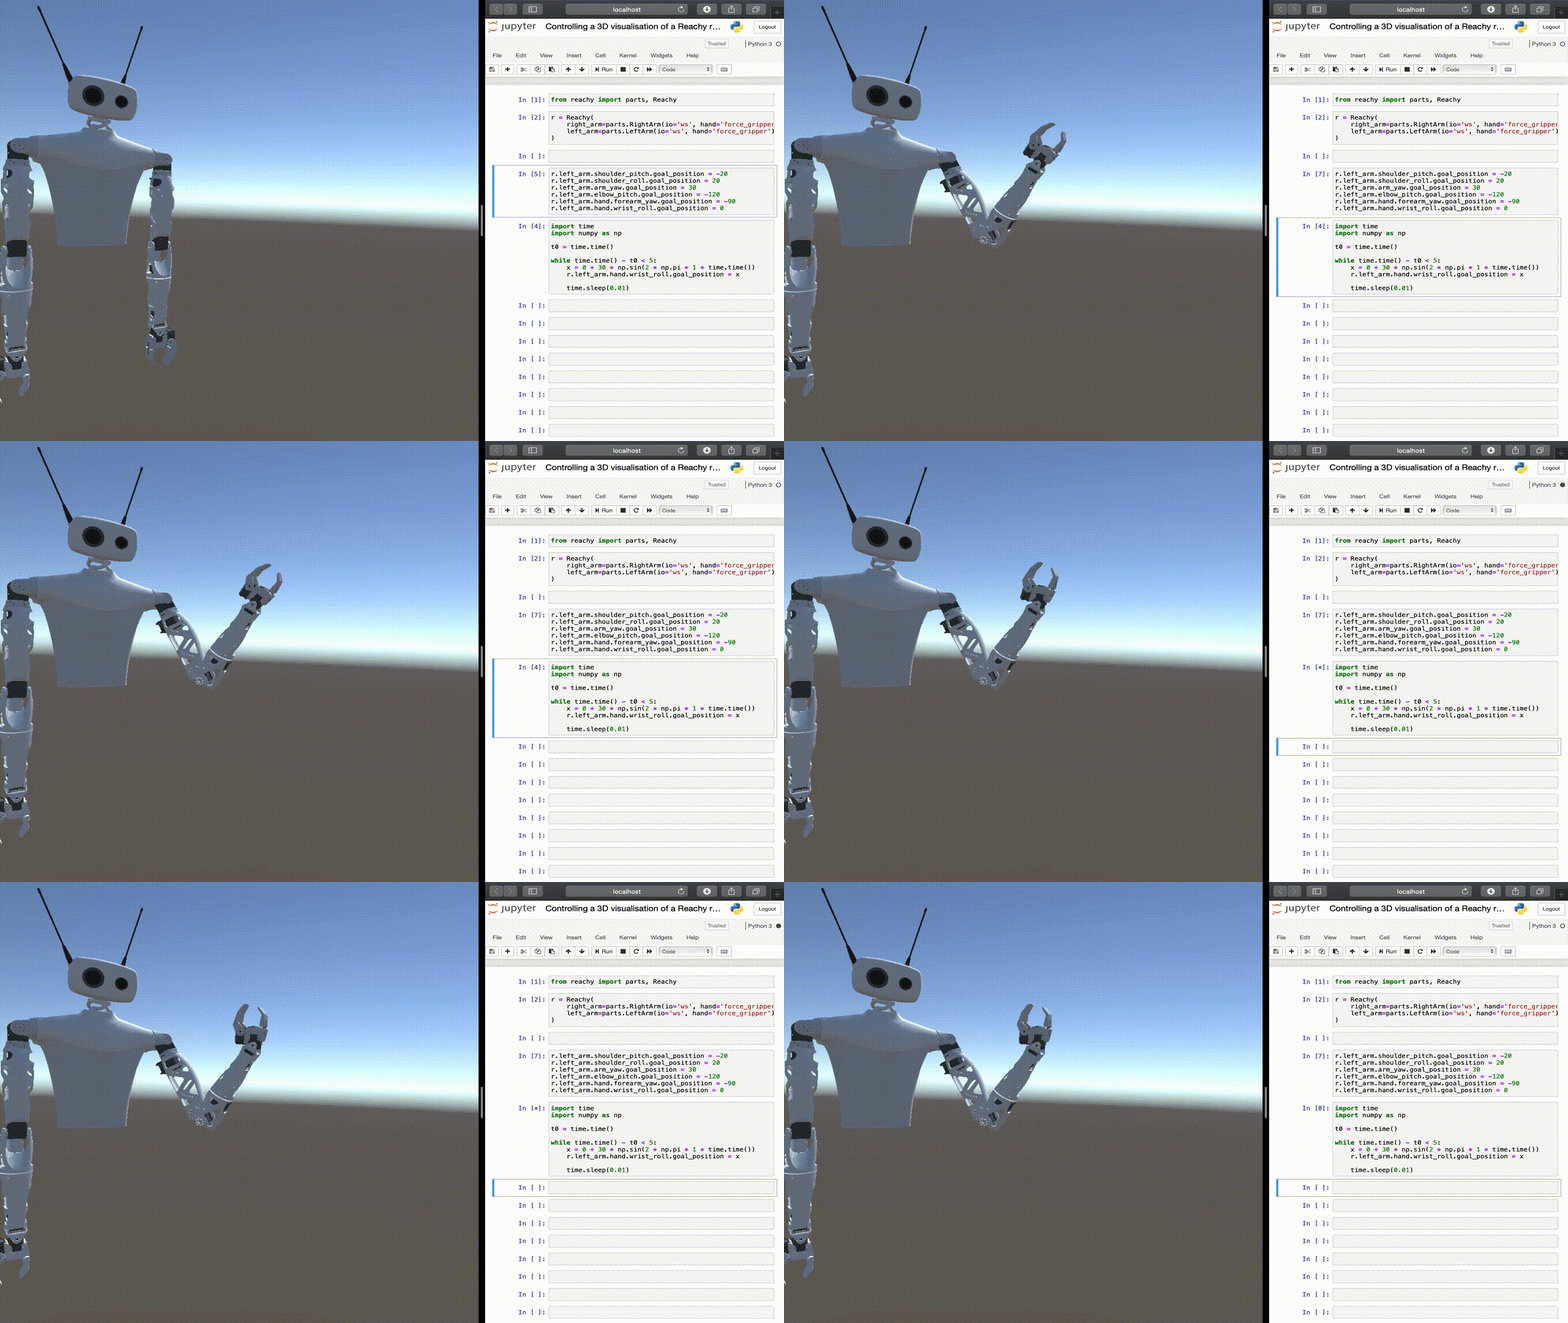
This tool will let you send commands using our Python’s API to a 3D model of a full Reachy robot (both arms and a head) and see their effect on the model. On the gif below, you can see how to make your robot wave with a few lines of code:

Getting started
So, what do you need to do the same on your own computer?
First, you need to install our Python’s package. It can be found here: GitHub - pollen-robotics/reachy-2019: Open source interactive robot to explore real-world applications! or directly on PyPi. It requires Python 3 and a few classical dependencies (numpy, scipy, etc). This software is the same one that runs on the real robot. I’ve simply added a new IO layer that change the communication with the hardware (motors and sensors) with a WebSocket communication that interacts with the 3D visualisation.
Both hardware and visualisation share the same API. The only important difference is when creating your robot, you need to set all io to ‘ws’:
from reachy import parts, Reachy

r = Reachy(
    right_arm=parts.RightArm(io='ws', hand='force_gripper'),
    left_arm=parts.LeftArm(io='ws', hand='force_gripper'),
)
Then, the visualisation can be accessed directly from http://playground.pollen-robotics.com. You only need to have a web browser that supports WebGL. It should work on all rather recent browser. Yet mobile support is only partial at this time (See Unity - Manual: WebGL browser compatibility for details).
Then, if you run command using Python’s API you should see the visualisation in your web browser move!
For instance:
r.right_arm.elbow_pitch.goal_position = -80
Just remember:
- run the Python code to create the Reachy instance
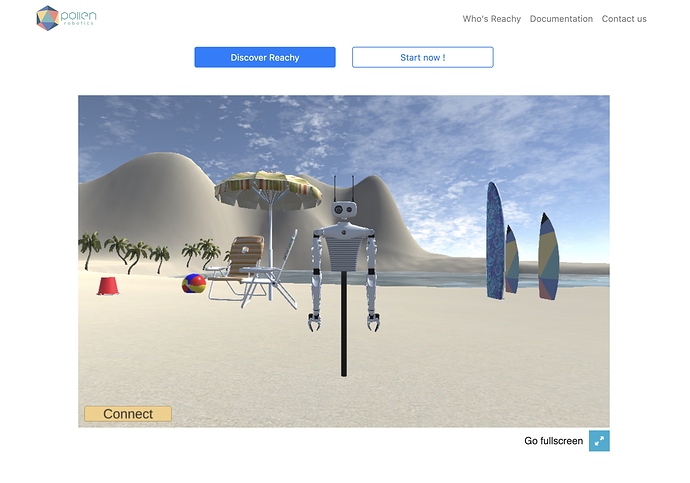
- open the link with the visualisation or click the connect button if it’s already open but not connected
- run all commands you want using the Python’s API
Roadmap
This first version lets you move the 3D visualisation of a full Reachy, but there are still many limitations:
- We do not use any physic simulation at the moment. The motor directly teleports to their goal position using infinite acceleration. This is obviously different from the real robot. We plan to provide a simulation with physics, collision, and interaction with objects but this will take more time.
- The camera and the orbita neck can not be controlled at the moment. We are working on this right now!
So quite a lot of cool things to come in the future, to keep us busy ![]()
Do not hesitate to try visualisation and let us know what you think! We hope to share more soon.


