Make your own Reachy play tic-tac-toe (WIP!)
Required: Reachy right arm, Head
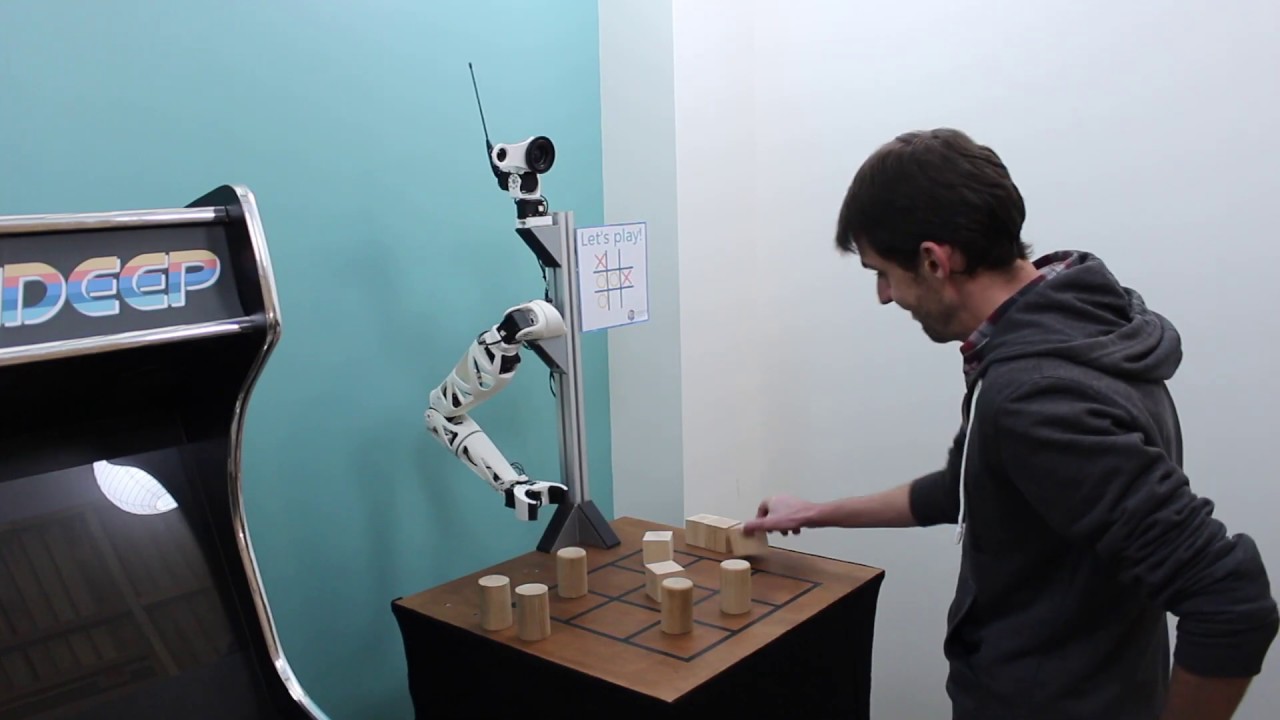
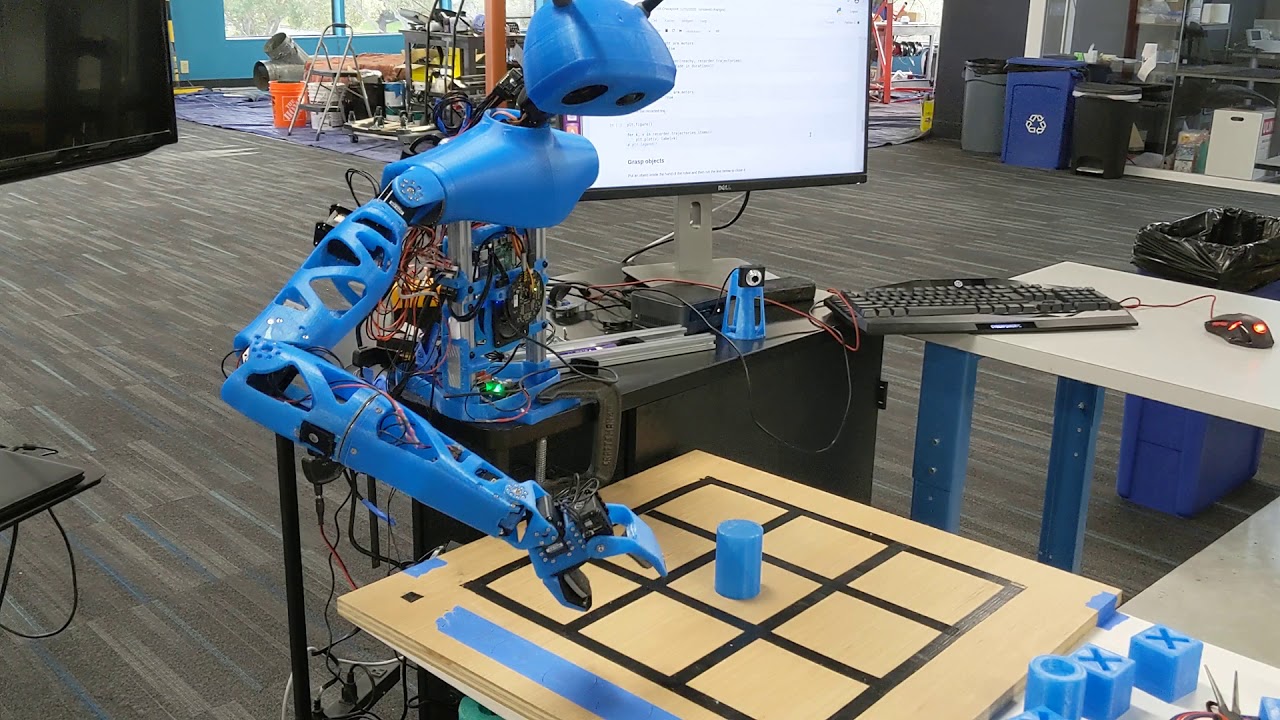
This tutorial will guide you through the building of a new environment: making your Reachy play autonomously a real game of tic-tac-toe against a human player. You can see what it will look like once finished in the video below:
Pretty cool, right? But let’s dive in the project as we have quite some fields to cover. We’ll need to:
-
build the hardware setup
-
record the motions for grasping a pawn and placing it to one of the case
-
use vision to analyse the board
-
train some AI to know how to play tic tac toe
-
and finally integrate everything in a game loop so we can try to beat Reachy
The whole code for this tutorial will be built upon Reachy Python’s API. We assume that you’re already familiar with its basic usage and especially that you know how make it move.
TODO: ICON TRAJ
TODO: ICON VISION
TODO: ICON IA
Build the hardware setup
First thing first, we’ll start by building the hardware setup. To create this environment you will need:
-
a wood plank for the board (we used a 60x60cm)
-
5 pawns for the robot: the cylinders (radius 5cm height 7cm)
-
5 pawns for the human player: the cubes (5x5x5cm)
First of all, let’s draw the lines of the tic-tac-toe’s grid. To do so, we need to draw lines with black tape in order to make 9 squares of 12.5 cm.
Now, Reachy has to be set on the board. To do that, two solutions are possible:
- Fix the metallic structure on the board with Clamps. It works on short term, but is not very reliable.
- Make four holes of 8.2mm diameter on the board, in order to clamp the metallic structure with screws and nuts.
When it’s done, we can clamp the metallic triangle on Reachy’s structure by putting a screw through it and through the board, and putting a ring and a nut on the other side of the board.
To allow Reachy to find its pawns, we must set small stickers on the board on which Reachy’s cylinders will be put. Theses stickers can be set freely on the right side of Reachy.
Grab and place pawns on the board
To simplify fixed catching position
we can hardcode it by defining key points (joint or cartesian) → complex and boring
5 positions to catch and 9 positions to place
45 trajectories → all of them can be recorded
or we record half-trajectories and reconstruct them
be careful if there’s a pawn in the way
apply the smooth to make the movements more fluid
use a curve editor to make them nicer
we can imagine a lot of improvements (IK, spline, position of various paws)
two versions of a movement depending on whether the path is clear or not
Board analysis using vision
Ok, so we built our setup and our Reachy is able to play pawns on the board. As we want our robot to play autonomously, it needs to be able to detect the game state, meaning look at the board, analyse it and detect where its pawns are and where the human’s one are located.
This is a prerequisite before actually reacting to what the human player is doing and playing autonomously when Reachy’s turn comes.
There are a lot of ways we could have chosen to realise this. For instance, one could have used RFID on the board to detect what pawns are. We decided to go with vision for two main reasons.
First, we are here designing a game between a human player and Reachy. The interaction between them is at the heart, so it’s important that Reachy “shows” to the player what is doing and what are its intents. For example, the robot needs to look at the board, stop for a while like if it was thinking and then actually plays. So as our robot will look at the board anyway, why not actually really looking and use our camera to infer what’s happening.
Second, our setup is rather simple from a vision perspective. We have a known background (the board) and two different objects to recognise (Reachy’s pawn and the human’s pawn). Today, we can use some really effective tools for solving this task as we will show below.
Board analysis: a classification problem
Extract thumbnails for each case
As stated above, our task is quite constrained and we can easily make it even more constrained. We can fix the head position when we look at the board so we always see it from the exact same point of view.
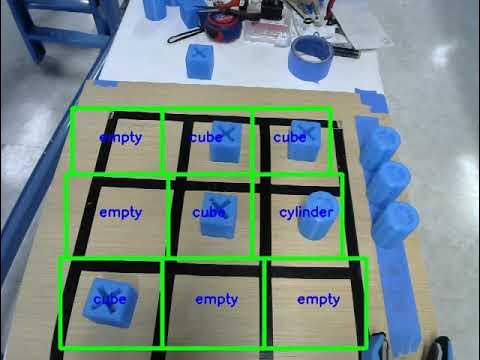
Thus, we can identify the exact area of the image corresponding to each case of the board. Once, we have done this we can extract 9 smaller images: one per case. Here’s an example of what the process will look like
The code for extracting the images is shown here: → Lien notebook ?
Cube, Cylinder or nothing?
Now, we need to determine for each image whether there is a cylinder (robot’s pawn), a cube (human’s pawn) or nothing. For simplification purpose, we assume here that there will only be one pawn or zero on each case. This may be wrong, especially if one of the players decides to do something unusual.
In this context, our vision task becomes a classification task where for an image we need to decide if it belongs to either one of three possibilities: cube, cylinder or nothing.
Collect and label data
Thanks to recent development in deep learning, this image classification task became rather straightforward (at least when the category are simple). The only thing needed is labeled data to train our classifier. Here, this means to gather 3 sets of images in separate folder for each of our classes.
First, let’s collect images of the board. Keep in mind that for robustness it’s better to collect images in different conditions: lighting, slightly different positions and orientations. Here’s a few examples of different boards configurations:
A good practice is actually to incrementally build a database, 10 images the morning, 10 other 2 hours later when there is a cloud in front of the window, etc. Having different people giving different examples may also be a good idea!
We recommend to have 3 cylinders, 3 cubes and 3 empty case on the board each time you take a picture. Thus, you will have the same amount of images for each category. As our task is actually quite simple, collecting 10 images of the board should already give you satisfying results. The more images you had to the process, the more robust the classification will be.
You can find the code for recording images of the board here: TODO: link notebook
Thanks to the box you defined previously, the notebook leaves you with a folder full of images of a single case.
Now, it’s time for the not so entertaining part of the work: labelling data. Here, it simply means looking at the images you obtained and for each one move it to the corresponding folder (cube, cylinder, or nothing) depending on what you see on the image.
Train a classifier
Deep learning especially shines when it comes to classifying images. That’s the approach we are going to follow here. We will use Tensorflow to build our classifier and train it.
Note: The model we will use is pretty computation intensive. So, to get real time detection and to speed up training we recommend using a machine with a GPU. For more details on how to setup your machine and install the needed software, we recommend you to read the install section of Tensorflow website. The Reachy from the video is actually running on a Jetson TX2 board.
Actually, we will use a pre-trained network (on millions of images) and we will slightly adapt it (fine-tuned it) to our task.
The code can be found here: TODO: notebook
If you want to go further and better understand what we did, you can find a lot of good introductions on how image classification works with deep learning:
TODO: lien deep learning + classification
Real time evaluation of our model
It’s time to test our model in real conditions. To do that, the notebook below will guide you to this simple process:
-
Connect to Reachy and make it look the board
-
Load our trained model and start predicting what’s inside each case of the board (actually runs 9 classifications, one per case)
-
Display what the model predicted directly on the image
-
Start placing pawns on the board and move them and see how the model reacts
TODO: lien notebook
If your model performs poorly, it most likely means that you need to use more (and more diverse) training data.
You may notice that when you move your hand in front of the board, the model predictions become less robust. It’s normal as we did not show any hand during training. Actually, we will tackle this issue in the next part.
Is the board valid?
Something that we did not take into account so far, is whether the board can be analysed or not. During a game, many configurations may occur where the board can not be robustly analysed. It could be that there is a hand or a arm in front of the board hiding some case. It could also be that the human is still holding the piece, still hesitating where to put it. A few examples of what we mean is show below:
TODO: images invalid
It’s important that our system is able to recognise these configurations and wait for a better one. We will use the exact same approach than before: we will train another classifier to recognise basically two categories: valid board and invalid board.
We will follow the same process: gather board images both valid and invalid, labelled them and train a
new classifier. The whole process is done in TODO: notebook.
Putting everything together
We can run once again our live detection but with our valid/invalid detection run first so we only run the board analysis when we are sure our board is okay. You can try again with this notebook.


